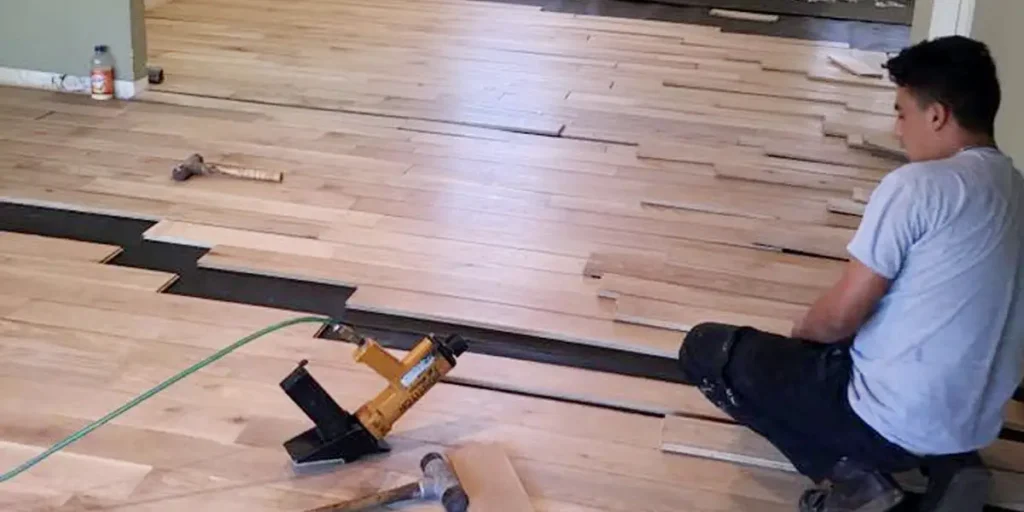
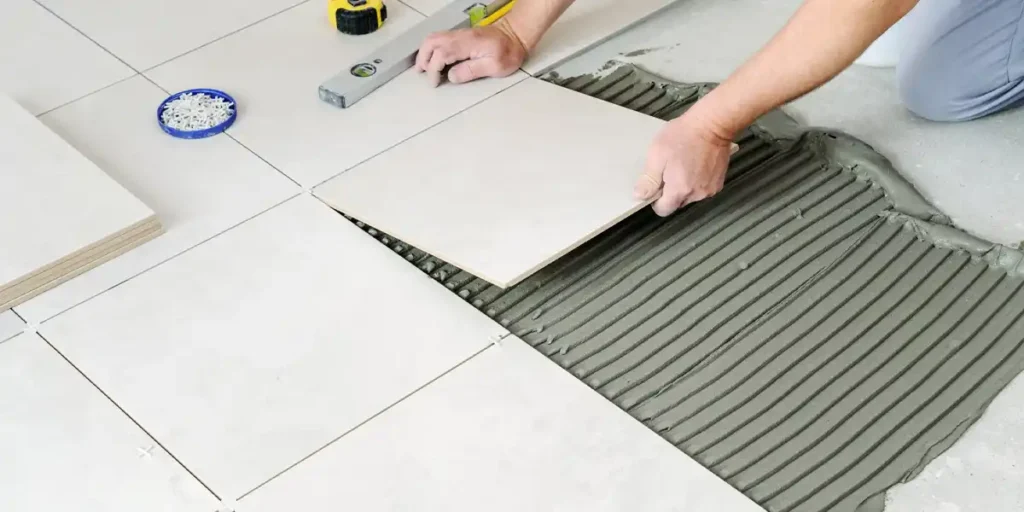
There’s nothing quite like the look and feel of wood flooring—classic, warm, and timeless. But installing it yourself? That might feel overwhelming.
Don’t worry! With the right tools, planning, and step-by-step guidance, you can tackle this project with confidence.
Whether you’re upgrading a single room or your entire home, this guide will teach you how to install wood flooring like a seasoned pro.
Planning Your Wood Flooring Installation Project
Preparation is crucial. Proper planning can save you time, money, and headaches down the road. Here’s how to get started:
1. Choosing the Right Wood Flooring
The type of wood you choose impacts cost, durability, and overall aesthetics. Key considerations include:
- Solid Hardwood vs. Engineered Wood: Solid hardwood lasts longer but can be more challenging to install. Engineered wood is more moisture-resistant and easier to handle.
- Species: Options like oak, maple, and cherry offer various hardness levels and appearances.
- Pre-finished vs. Unfinished: Pre-finished wood saves time but limits customization, while unfinished allows for on-site staining and sealing.
2. Measuring Your Space
Accurate measurements are critical. Include all nooks and crannies in your calculations, and add 10% to account for waste, cutting errors, and future repairs. A reliable tape measure is your best friend.
3. Gathering the Right Tools
You’ll need:
- A measuring tape and pencil
- A saw (circular or miter)
- Hammer and pry bar
- Tapping block and pull bar
- Spacer wedges
- Safety equipment (glasses, gloves, and dust mask)
- Underlayment material, if needed
Step-by-Step Guide: How to Install Wood Flooring
1. Preparing the Subfloor
Ensure the subfloor is clean, dry, and level. Remove old flooring, nails, or debris. Use a self-leveling compound to address any uneven spots. A solid foundation is essential for a flawless installation.
2. Installing Underlayment
Underlayment reduces noise, adds cushioning, and acts as a moisture barrier. Roll it out and secure it according to the manufacturer’s guidelines. Overlap seams slightly for full coverage.
3. Acclimating the Wood
Let your wood planks acclimate to the room’s temperature and humidity for at least 48 hours before installation. This prevents future warping or gaps due to expansion and contraction.
4. Laying the First Row
Start along the longest, straightest wall. Use spacer wedges to maintain a 1/4-inch gap between the wood and the wall for expansion. Align the first row carefully—it sets the tone for the entire installation.
5. Installing Subsequent Rows
Fit the planks together using the tongue-and-groove system. Use a tapping block to ensure tight seams without damaging the wood. Stagger the joints for a more natural appearance and added stability.
6. Cutting and Fitting Around Obstacles
Measure carefully for doorways, vents, and other obstacles. Use a jigsaw or handsaw for precision cuts. Double-check your measurements before cutting to avoid waste.
7. Adding Finishing Touches
Remove spacers, install baseboards, and add transition strips to cover gaps between rooms. Sweep or vacuum the floor to remove dust and debris.
Troubleshooting Common Problems: Ensuring a Flawless Wood Floor Installation
Even with meticulous planning and execution, challenges can arise during wood floor installation. Addressing these problems promptly ensures a long-lasting and visually appealing result.
Here are common issues and how to resolve them:
Uneven Subfloor
An uneven subfloor is a frequent culprit behind creaky or uneven flooring. Before installation, carefully inspect the subfloor for high spots, dips, or irregularities. Use a self-leveling compound to even out the surface. Apply the compound according to the manufacturer’s instructions, ensuring it fills low areas and creates a flat, smooth base. Allow sufficient drying time before proceeding. Skipping this step can lead to structural instability and premature wear.
Gaps Between Planks
Gaps can detract from your floor’s appearance and compromise its durability. To avoid this, ensure each plank is tightly fitted during installation. Use spacers consistently to maintain uniform gaps around the perimeter for expansion, but make sure the planks themselves fit snugly together. Recheck alignment after laying each row and use a tapping block to secure tight joints.
Plank Movement
Movement or shifting of planks usually points to an insecure subfloor or underlayment. Double-check that the subfloor is properly anchored and the underlayment is evenly spread without wrinkles or gaps. If planks continue to move, inspect for moisture issues or loose fasteners. Proper installation and maintenance of all layers prevent future movement.
By proactively addressing these issues, you’ll ensure a smooth, professional-quality finish.
Finishing Up
Installing wood flooring yourself is an achievement worth celebrating. It requires effort and attention to detail, but the results are rewarding: a beautiful, durable floor that transforms your space.
By following this guide, you’ve mastered how to install wood flooring and saved on installation costs. Now, take a moment to admire your handiwork—you’ve earned it!
Looking for professional flooring services in Texas? Contact Cardenas Flooring and book your service now.
FAQs
How long does it take to install wood flooring?
The installation time depends on the room’s size, preparation, and your experience. A moderately sized room (200–400 sq. ft.) might take 2–3 days for a beginner, including subfloor preparation and finishing touches. Acclimating the wood to the room’s conditions adds an additional 48–72 hours. Professionals might complete the same project in 1–2 days.
Can I install wood flooring over existing flooring?
Yes, wood flooring can be installed over existing flooring, provided the surface is level, clean, and stable. Flooring types like concrete, tile, or plywood are suitable bases, while carpet must be removed. Consider underlayment to address moisture or sound issues. If the subfloor isn’t even, it may require leveling before installation.
Is underlayment necessary for wood flooring?
Underlayment isn’t always required but is highly recommended in most cases. It provides sound insulation, moisture protection, and added comfort underfoot. If your subfloor is concrete or uneven, an underlayment ensures a smooth installation and prolongs the life of your wood flooring. Check your flooring manufacturer’s recommendations.
What are the common mistakes to avoid when installing wood flooring?
Key mistakes include failing to acclimate the wood to room conditions, not leveling the subfloor, and skipping the expansion gap around walls. These errors can lead to warping, uneven flooring, or squeaking. Use the right tools, follow manufacturer guidelines, and measure carefully to prevent costly errors.
Can I install wood flooring myself, or should I hire a professional?
DIY installation is feasible if you’re comfortable with tools, measuring, and following precise instructions. It’s a cost-effective option for straightforward layouts. However, for complex patterns, uneven subfloors, or large spaces, hiring a professional ensures a polished and long-lasting result. Assess your skills and the project’s complexity before deciding.


