How Much Does Floor Tile Installation Cost in 2025?
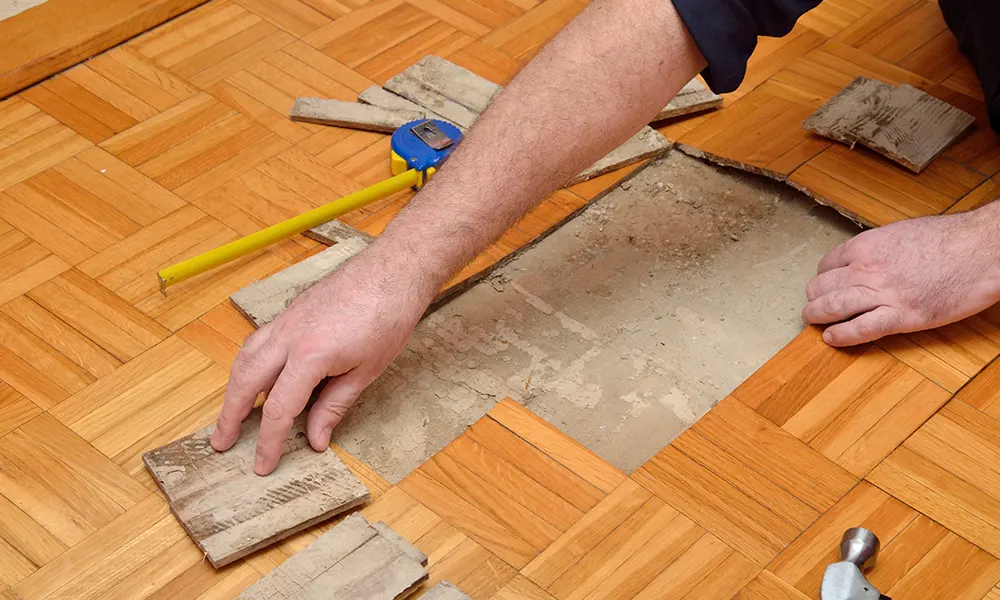
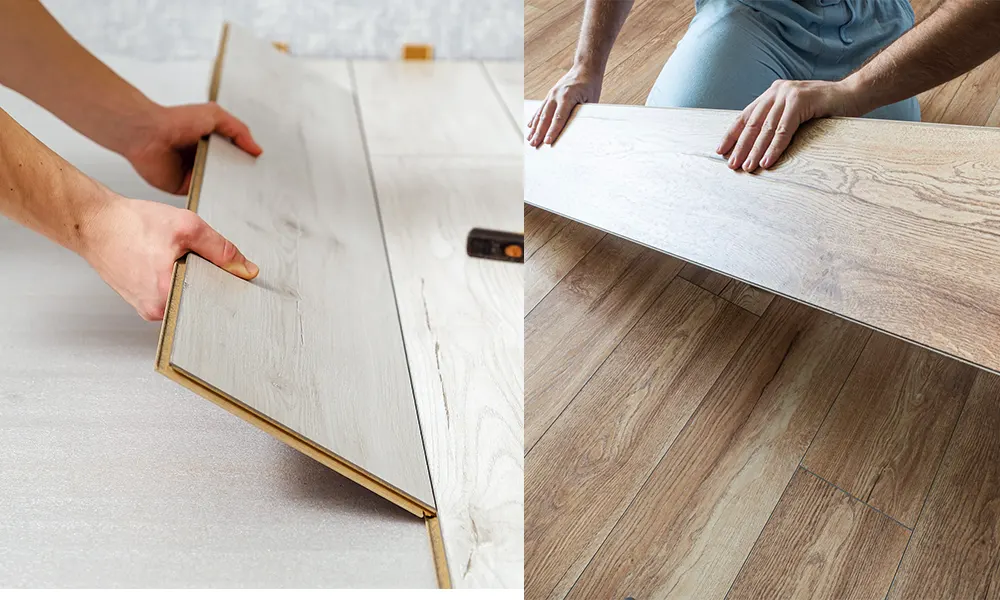
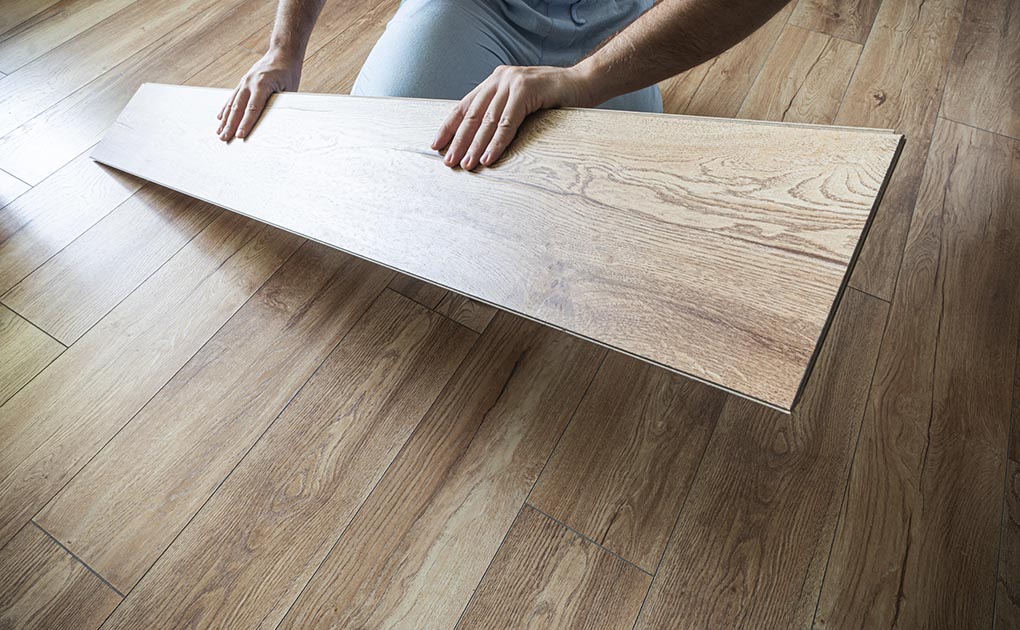
Are you planning a tile flooring project but unsure about the cost? In 2025, floor tile installation costs can vary significantly based on materials, labor, and location. Whether you are upgrading your bathroom, kitchen, or living space, understanding the costs involved can help you budget effectively. Tile flooring is a durable and stylish option, but factors like tile type, installation complexity, and subfloor preparation can impact the final cost. So, how much does it really cost to install floor tiles in 2025? Let’s break it down. Average Cost of Tile Floor Installation The floor tile installation cost depends on multiple factors, including tile material, labor rates, and installation complexity. Here is an estimated cost breakdown: On average, a 1,000 square foot tile installation project may cost anywhere between $4,000 and $15,000, including both materials and labor. Cost by Tile Material Different tile materials come with different price points. Here is how floor tile installation cost is expected to range in 2025: Flooring Type Cost per sq. ft. Pros Cons Vinyl $2 to $8 Affordable, water-resistant, easy to install Not as durable as ceramic or porcelain Linoleum $3 to $10 Eco-friendly, soft underfoot, long-lasting Requires sealing and maintenance Cork Tile $5 to $12 Comfortable, sound-absorbing, renewable material Susceptible to moisture damage Terracotta Tile $6 to $15 Rustic aesthetic, durable, good for warm climates Requires sealing, porous material Ceramic Tile $3 to $7 Affordable, easy to maintain, variety of designs Less durable than porcelain, prone to chipping Travertine Tile $8 to $25 Classic look, natural stone durability Requires sealing, prone to stains Limestone Tile $7 to $20 Elegant, available in various textures Susceptible to scratches and stains Porcelain Tile $5 to $10 Durable, water-resistant, great for high-traffic areas Higher material cost, labor-intensive installation Granite Tile $10 to $35 Extremely durable, luxurious appearance Expensive, requires sealing Mosaic Tile $10 to $30 Stylish, customizable designs High installation cost due to labor-intensive process Glass Tile $12 to $35 Reflects light, vibrant colors Prone to chipping, requires professional installation Factors Affecting Tile Installation Cost Several factors influence floor tile installation costs, including tile material, labor rates, subfloor condition, installation complexity, and additional expenses like waterproofing and tile removal. Tile Material Price Comparison Material type plays a major role in pricing. Porcelain and natural stone tiles tend to be more expensive, while ceramic and vinyl offer budget-friendly options. How PEI Ratings Impact Tile Cost The Porcelain Enamel Institute (PEI) rating measures tile durability. Higher-rated tiles (PEI 4 to 5) are more durable but come at a higher cost. Tile Installation Cost for Kitchens vs. Bathrooms Labor Costs vs. Material Costs in Tile Installation Labor accounts for 40 to 60 percent of total installation costs. Complex installations (such as mosaic or herringbone patterns) will increase labor expenses. Additional Cost Considerations When budgeting for tile installation, consider extra costs such as subfloor repairs, waterproofing, tile removal, and specialty cuts, which can significantly impact the total project expense. Subfloor Repair and Moisture-Proofing Costs How Tile Removal Increases Installation Costs If you are replacing old flooring, tile removal can add an extra $2 to $5 per square foot to your project cost. High-End vs. Budget-Friendly Tile Options Luxury materials like marble and granite can cost five to ten times more than standard ceramic or vinyl tiles. DIY vs. Professional Tile Installation: Which Is Better? Deciding between DIY and professional tile installation depends on your budget, skill level, and project complexity. While DIY saves on labor costs, professional installation ensures precision and long-term durability. DIY Tile Installation: Pros and Cons Professional Tile Installation: Quality Assurance For large areas (500 square feet or more), hiring a professional is often the best choice. Final Thoughts: How to Save on Floor Tile Installation Costs The floor tile installation costs in 2025 range from $3 to $15 per square foot, depending on tile type, labor, and complexity. Cost-Saving Tips: Want expert advice on your tile installation project? Contact a professional installer today for a free quote. Frequently Asked Questions (FAQs) How much does it cost to install tile flooring per square foot? The price ranges from $3 to $15 per square foot, depending on tile material and labor. Is it cheaper to install tile flooring yourself or hire a professional? DIY saves money, but mistakes can lead to costly repairs. Professionals charge $4 to $15 per square foot for expert installation. What is the most affordable type of tile for flooring? Vinyl and ceramic tiles are the most budget-friendly, costing $2 to $8.50 per square foot. How does PEI rating affect tile pricing and durability? Higher PEI ratings (4 to 5) mean more durable tiles for high-traffic areas, but they cost more than lower-rated tiles. What additional costs should I consider when installing tile flooring? Costs for subfloor preparation, tile removal, grout, sealant, and specialty cuts can increase the total price.