You’re staring down a room of hardwood floors, ready for a major transformation.
Whether you’re replacing damaged boards, upgrading to a new style, or repurposing the space, removing hardwood flooring is often the first step. While it’s tempting to call in professionals, doing it yourself can save significant costs and give you the satisfaction of a job well done.
Removing hardwood flooring is no small feat, but with the right knowledge, tools, and approach, you can turn this labor-intensive task into a manageable DIY project.
Let’s dive deeper into each step to ensure your experience is efficient, safe, and cost-effective.
Step 1: Know Your Hardwood Flooring Type
Understanding the type of hardwood flooring you’re dealing with is essential. Each type—nailed, glued, or floating—requires a different removal method. Identifying this upfront saves time and ensures you use the right tools.
Nailed-Down Flooring
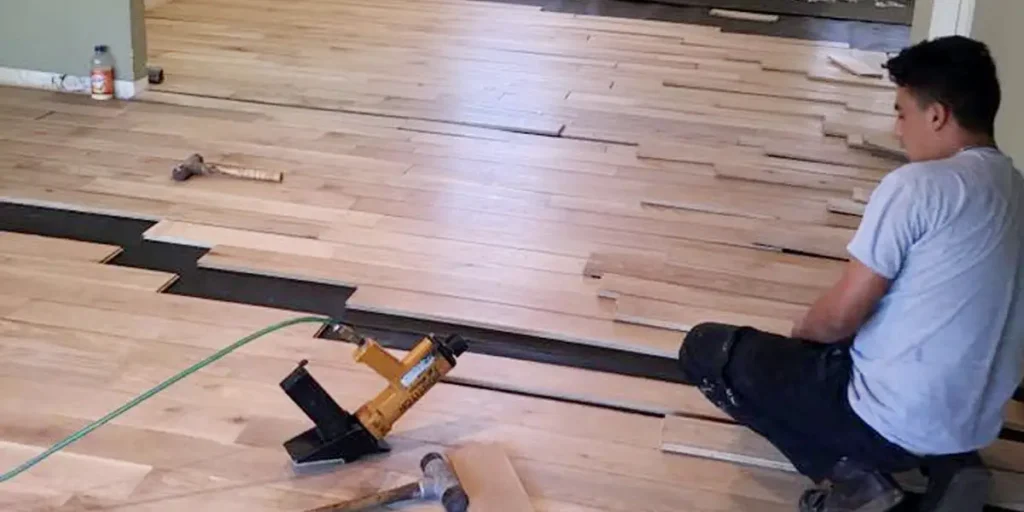
Common in older homes, nailed-down floors are often directly attached to the subfloor. While durable, they require substantial effort to remove, as each board must be carefully pried up without damaging the subfloor.
Glue-Down Flooring
Found in high-traffic or commercial spaces, glue-down floors are adhered with strong adhesives. Removing these often requires specialized tools like a floor scraper or oscillating multi-tool to tackle the stubborn glue residue.
Floating Floors
Floating hardwood floors are not attached to the subfloor, making them the easiest to remove. They are installed with interlocking mechanisms and can often be taken apart plank by plank without heavy tools.
Step 2: Assemble Your Tools
Having the right tools makes all the difference. Here’s what you’ll need:
-
Essential Tools:
Pry bar, hammer, claw bar, utility knife, and floor scraper.
-
Safety Gear:
Eye protection, work gloves, dust mask, and knee pads.
-
Optional Tools:
Heat gun for glue-softening and an oscillating tool for precise cutting.
Cleanup Tools: Shop vacuum for debris and adhesive removal.
Step 3: Preparing for Hardwood Flooring Removal
Before you lift a single board, prep the room:
-
Clear the Space:
Move all furniture and décor out of the room.
-
Protect Adjacent Areas:
Use painter’s tape and drop cloths to prevent dust and debris from spreading.
-
Check for Hazards:
Inspect for electrical wiring, heating vents, or plumbing beneath the floor to avoid accidental damage.
Step 4: Step-by-Step Removal Process
Nailed-Down Flooring
- Start at an Edge: Locate a loose edge or cut into the board with a utility knife to create a starting point.
- Pry Carefully: Insert the pry bar under the board and gently lift. Work slowly to avoid snapping the wood or damaging the subfloor.
- Remove Nails: Use the claw bar or hammer to extract nails. Keep a bucket handy for discarded nails to maintain a clean workspace.
Glue-Down Flooring
- Soften Adhesive: Use a heat gun to loosen the adhesive underneath the boards.
- Score the Boards: Use a utility knife to cut through the glue, creating smaller, more manageable sections.
- Scrape Residue: After removing the planks, scrape remaining glue from the subfloor with a floor scraper or adhesive remover.
Floating Floors
- Identify Seams: Begin where planks meet, usually along the edges.
- Lift and Separate: Pry the planks apart gently. Most should click free without much effort.
- Work Methodically: Continue row by row until the floor is fully removed.
Step 5: Clean Up Like a Pro
Once the flooring is removed, thorough clean-up is essential to prepare for the next phase of your project.
-
Remove Debris
Use a shop vacuum to pick up dust and small particles.
-
Inspect the Subfloor
Ensure it’s free of nails, staples, and adhesive residue.
-
Repair Damage
If the subfloor is uneven or damaged, patch it before installing new flooring.
Tips for Success: Dealing with Common Challenges
- Stubborn Boards: Apply additional leverage using a longer pry bar or cut the boards into smaller sections for easier removal.
- Adhesive Residue: For glue-down floors, an adhesive remover can save time and prevent frustration.
- Safety First: Always wear gloves and safety glasses, especially when dealing with sharp nails or splintered wood.
Final Thoughts
Removing hardwood flooring can seem daunting, but with the right preparation and approach, it’s a highly achievable DIY project.
Understanding the type of flooring, using proper tools, and following a systematic process will save you time, money, and frustration. Whether you’re upgrading your space or salvaging materials, the satisfaction of a job well done is worth the effort. Happy renovating!
Looking to Remove Old Hardwood Floors? Let Cardenas Flooring handle the heavy lifting with expert removal services. Contact us today to get started on your renovation!
Frequently Asked Questions (FAQs)
Can I reuse the hardwood flooring I remove?
Yes, hardwood flooring can often be reused if it is removed carefully and remains in good condition. Reclaimed hardwood can be repurposed for new flooring projects, furniture, or decorative elements like wall paneling. However, be prepared to inspect the boards for damage, clean them thoroughly, and possibly sand or refinish them before reuse. Properly removing nails and adhesive is crucial to preserving the planks for future use.
How much time does it take to remove hardwood flooring?
The time required depends on the size of the area and the flooring type. For example, removing a small room’s floating floor might take 3–4 hours, while glue-down or nailed flooring could take a full day or more due to adhesive or nail removal. Factors such as the tools available, your experience, and the flooring’s condition also impact the timeline. Larger or more complex spaces may require multiple days to complete.
What tools are essential for removing hardwood flooring?
Key tools include a pry bar, hammer, utility knife, claw bar, and floor scraper for effective removal. For glue-down floors, consider an oscillating tool and heat gun to tackle stubborn adhesive. Safety gear, such as gloves, safety glasses, a dust mask, and knee pads, is critical to avoid injury during the process. A shop vacuum is also highly recommended to manage debris and keep your workspace clean.
Can I remove hardwood flooring without damaging the subfloor?
Yes, with proper technique and tools, you can minimize damage to the subfloor. Use a pry bar and hammer gently to lift boards, and work slowly to avoid gouging or breaking the subfloor. In the case of glue-down floors, scraping the adhesive carefully can prevent damage. If you notice minor imperfections, you can patch them with wood filler or a leveling compound before installing new flooring.
Is removing hardwood flooring a DIY-friendly project?
Yes, removing hardwood flooring can be a DIY project if you are prepared for physical labor and have the right tools. Floating floors are generally easier for beginners, while glued or nailed-down floors can be more challenging. If you’re unsure about the process or have a large area to cover, consulting a professional can save time and ensure the removal is done without unnecessary damage.


