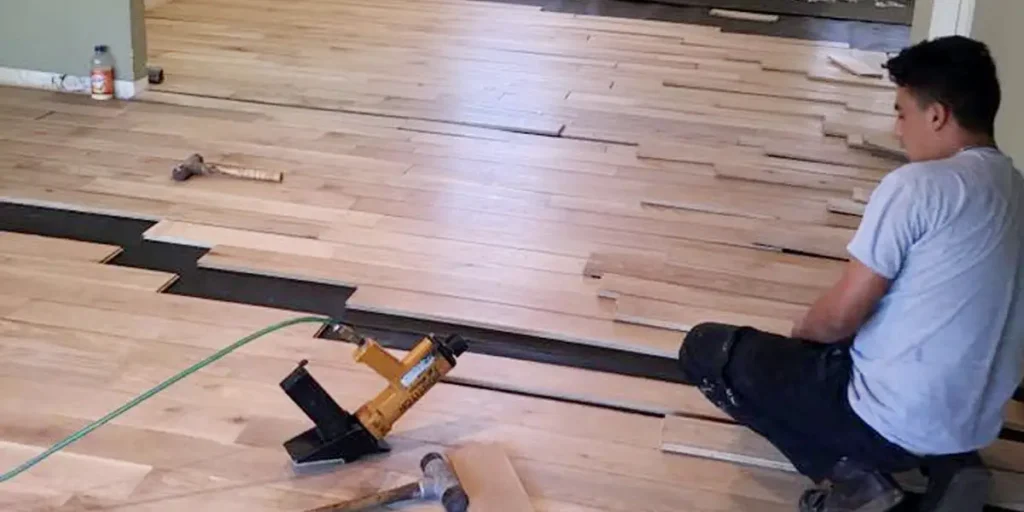
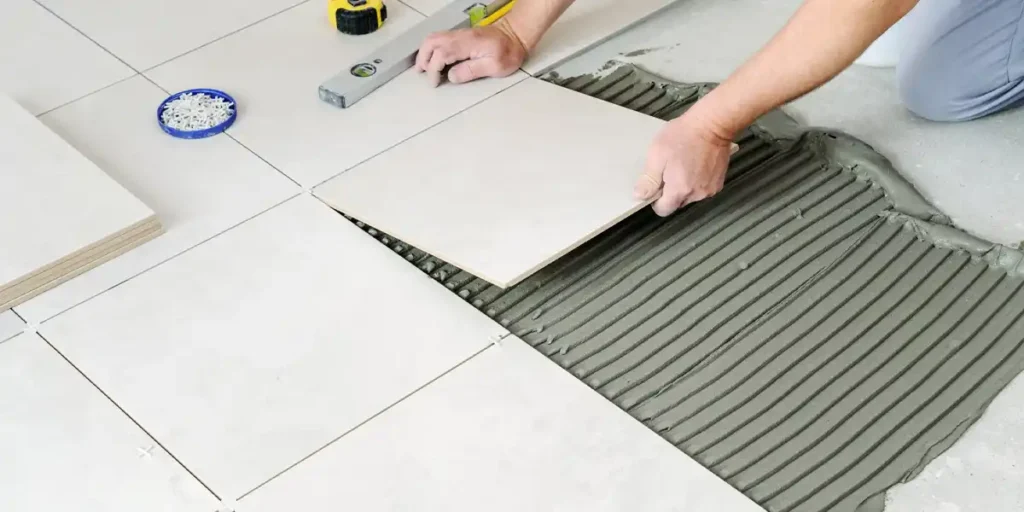
Laminate flooring is a popular choice for homeowners due to its affordability, durability, and versatility. While hiring professionals can ensure flawless results, installing laminate flooring yourself can be a rewarding project if done correctly.
Why Choose Laminate Flooring?
Before diving into the process, it’s essential to understand why laminate flooring is a go-to option for many homeowners.
Here are some benefits:
- Durable and Scratch-Resistant: Perfect for high-traffic areas.
- Aesthetic Appeal: Mimics the look of hardwood or tile without the hefty price tag.
- Easy Maintenance: Simple to clean and maintain.
Tools and Materials You’ll Need
To start the installation, gather the following tools and materials:
- Laminate flooring planks
- Underlayment (if not pre-attached)
- Measuring tape
- Utility knife
- Spacers
- Tapping block and pull bar
- Saw (circular or jigsaw)
- Rubber mallet
- Pencil and straightedge
- Moisture barrier (for concrete subfloors)
How to Install Laminate Flooring Like a Pro
Follow this step-by-step guide to learn how to install laminate flooring like a pro.
Step 1: Prepare the Area
- Remove Existing Flooring: Clear the room of old carpet, tiles, or existing laminate flooring.
- Clean the Subfloor: Sweep and vacuum to ensure a clean surface. Remove any nails or staples.
- Check for Moisture: If installing over a concrete subfloor, lay down a moisture barrier to prevent damage.
- Acclimate the Laminate: Leave the laminate planks in the room for 48 hours to adjust to the room’s temperature and humidity.
Step 2: Install the Underlayment
Laminate flooring often requires an underlayment for added cushioning and soundproofing. Roll out the underlayment across the entire floor area, ensuring no gaps or overlaps. Trim any excess with a utility knife.
Step 3: Plan the Layout
- Measure the Room: Use a measuring tape to determine the dimensions of the room and calculate the number of planks needed.
- Dry Lay the First Row: Lay out the first row of planks without adhesive or locking them. This helps you visualize the pattern and ensure the last row isn’t too narrow.
- Stagger Seams: Plan to stagger the seams of the planks in each row to create a natural, appealing look.
Step 4: Begin Installing the First Row
- Start Along the Longest Wall: Begin installation from the left side of the longest wall in the room.
- Place Spacers: Position spacers between the planks and the wall to maintain an expansion gap (typically 6-10mm).
- Connect the Planks: Use the click-lock mechanism to join the planks. Align and click them into place, tapping gently with a tapping block and rubber mallet.
Step 5: Continue the Installation
- Cut Planks for Edges: Use a circular saw or jigsaw to trim planks for the edges of the room. Remember to measure twice and cut once.
- Work Row by Row: Repeat the process for each row, ensuring the seams are staggered and the planks are tightly connected.
- Fit Around Obstacles: For areas around doorframes or heating vents, trace the shape onto the plank and cut it accordingly.
Step 6: Complete the Final Row
- Trim the Planks: Measure the width needed for the final row and trim the planks to fit.
- Install Without Gaps: Use a pull bar to ensure the last row is snug against the previous row..
Step 7: Add the Finishing Touches
- Remove Spacers: Take out all spacers from the edges of the room.
- Install Trim or Molding: Cover the expansion gap with baseboards or quarter-round molding.
- Clean the Floor: Wipe down the floor to remove dust and debris.
Tips for Success
- Work Slowly: Rushing the process can lead to uneven planks and gaps.
- Check Alignment: Regularly check that the rows are straight and aligned.
- Maintain Expansion Gaps: These gaps prevent the floor from buckling as it expands and contracts with temperature changes.
When to Call a Professional
While this guide explains how to install laminate flooring, some situations may require professional help:
- Uneven or damaged subfloors.
- Complex layouts with many obstacles.
- Large areas where precision is crucial.
Trust Cardenas Flooring for Expert Laminate Installation
Installing laminate flooring can be a satisfying DIY project, but if you’re looking for flawless results without the hassle, trust the professionals at Cardenas Flooring. With over nine years of experience, our team delivers exceptional craftsmanship tailored to your needs.
Contact us today or visit Cardenas Flooring to schedule your free estimate and discover why homeowners in Fort Worth trust us for top-quality laminate flooring services. Let us transform your space with durable and beautiful floors!
FAQs
Can I install laminate flooring over carpet?
No, laminate flooring should not be installed over carpet. Carpets provide an uneven, soft surface that can cause the flooring to shift, creating an unstable and potentially damaged installation. To achieve the best results, remove the carpet completely and prepare a clean, flat subfloor for a secure and durable laminate flooring installation.
What’s the difference between laminate and vinyl flooring?
Laminate flooring features a fiberboard core and mimics the appearance of wood, offering a stylish and warm aesthetic. Vinyl flooring, on the other hand, is made from synthetic materials, providing superior waterproofing and durability. Vinyl is ideal for high-moisture areas like bathrooms, while laminate excels in dry spaces where a wood-like appearance is preferred.
Do I need to remove baseboards before installing laminate flooring?
While removing baseboards isn’t mandatory, it’s highly recommended for a seamless finish. This approach allows the laminate to expand properly and eliminates visible gaps. If you choose not to remove them, quarter-round molding can be used to cover the expansion gaps, providing a clean and polished look without taking off the baseboards.
How do I handle laminate flooring installation on stairs?
Installing laminate flooring on stairs requires precise techniques and additional materials. Stair nose moldings are essential to ensure a smooth and safe edge. Each plank must be glued or nailed securely to prevent movement. This process transforms the stairs into a cohesive part of your flooring design while maintaining durability and stability.
Can laminate flooring be installed in bathrooms or kitchens?
Yes, laminate flooring can be installed in kitchens or bathrooms, but it’s crucial to select water-resistant or waterproof options. These types are designed to withstand moisture exposure better than standard laminate. Proper sealing of seams and edges is essential to prevent water damage, ensuring the flooring remains durable and attractive over time.


